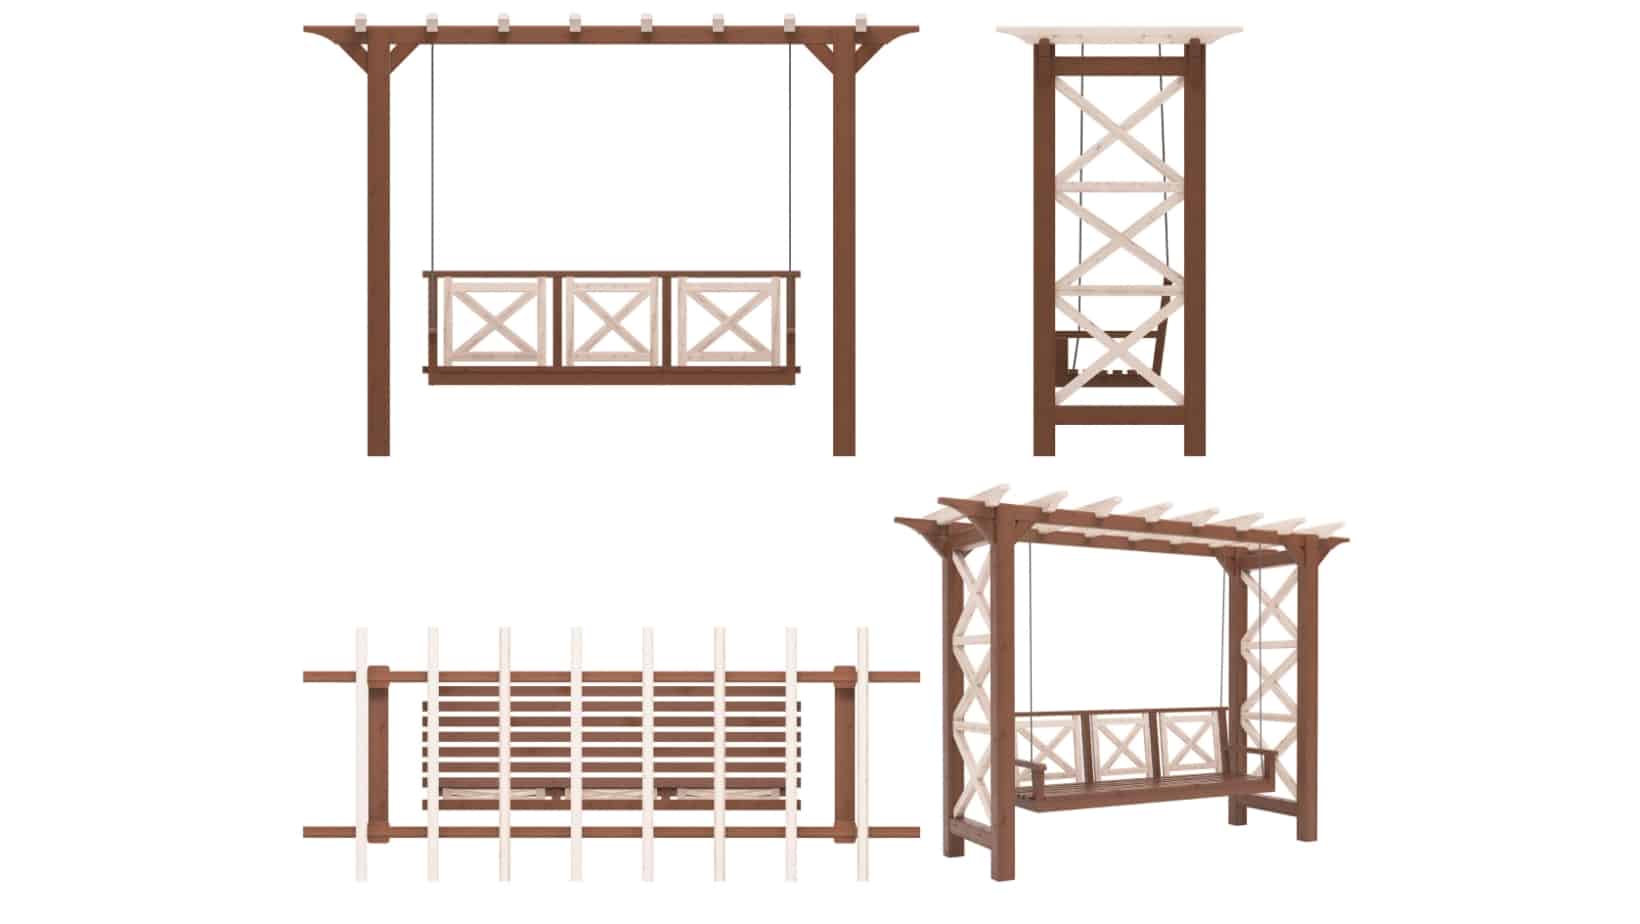
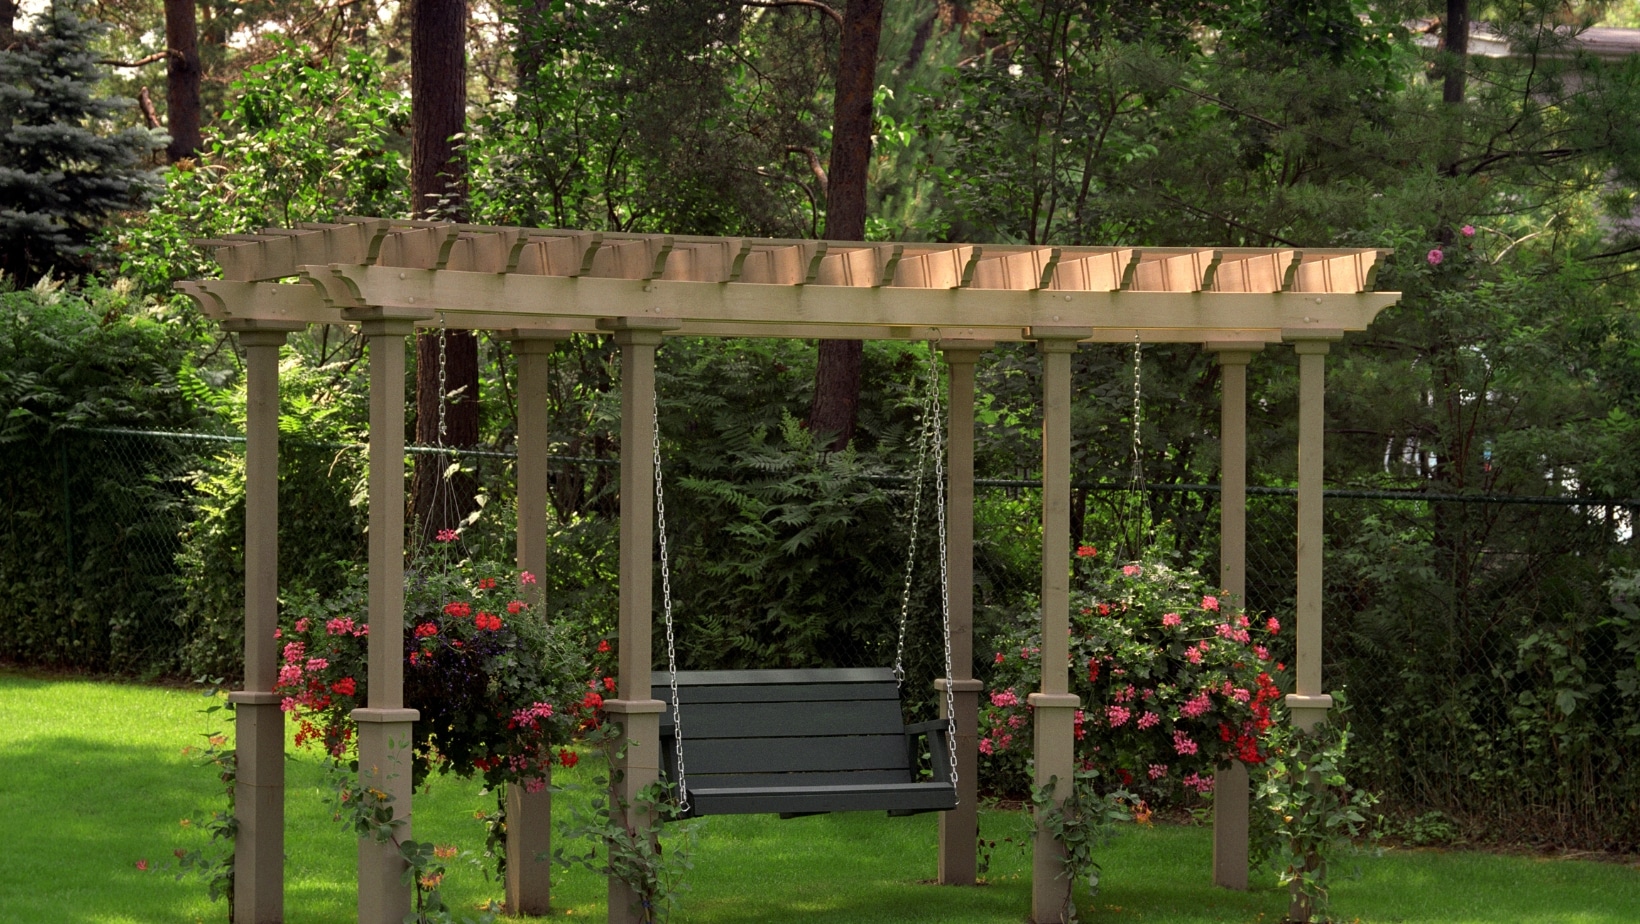
If you are looking for a way to spruce up your backyard and create a relaxing outdoor space. Consider building a DIY pergola swing set.
With just a few materials and essential tools, you can create a beautiful and functional addition to your backyard, enjoying you and your family.
Follow our step-by-step guide to get started.
Gather Materials and Tools
Before building your DIY pergola swing set, you must gather all the necessary materials and tools.
Here’s a list of what you’ll need:
– 4×4 posts
– 2×6 boards
– 2×4 boards
– 1×4 boards
– Swing Hardware
– Pergola hardware
– Screws
– Drill
– Circular saw
– Level
– Tape measure
You’re ready to build once you have all your materials and tools.
Choose the Right Location and Prepare the Site
The first step in building your DIY pergola swing set is to choose the right location and prepare the site.
Look for a flat area in your backyard free from obstacles like trees or power lines. You’ll also want to ensure the site is large enough to accommodate the size of your swing set.
Once you’ve chosen your location, mark the area with stakes and string. Use a shovel to remove grass or debris from the site and level the ground as much as possible. This will ensure that your swing set is stable and safe to use.
How to Build a Simple Pergola Swing
Building a simple pergola swing is a fun project to enhance your outdoor space.
Follow these steps to guide you through the process:
First, gather all the materials and tools you’ll need, such as pressure-treated lumber or cedar, galvanized screws, chains, swing hooks, and outdoor-grade sealant or paint. Prepare your devices, including a saw, drill, measuring tape, level, and wrench.
Next, plan and measure the dimensions of your pergola swing. Consider the available space and how many people you want it to accommodate. Sketch out the design and calculate the required lengths of the lumber.
Using a saw, cut the lumber according to your measurements. You’ll need posts for the pergola structure, beams to support the swing, and rafters for the top.
Attach two swing hooks evenly and securely to the beams, ensuring they are positioned for proper swinging. Tighten the bolts using a wrench.
Start assembling the pergola structure by installing the posts into the ground at your desired location.
Dig holes of the appropriate depth, ensuring stability. Place the posts in the gaps and use a level to ensure they are vertical. Fill the gaps with concrete or secure them with compacted gravel.
Attach the beams to the posts using galvanized screws, ensuring they are securely fastened. Then, attach the rafters on top, spacing them evenly and perpendicular to the rays. Use a level to ensure everything is aligned and level.
Sand any rough edges or surfaces of the lumber. Apply outdoor-grade sealant or paint to protect the wood from weathering. Allow it to dry according to the product instructions.
Hang the swing by attaching chains to the swing hooks. Ensure the chains are of equal length. Adjust the height of the swing as desired. Test the swing’s stability and make any necessary adjustments.
Once everything is securely in place, you can enjoy your new pergola swing. Enhance its comfort and coziness by adding cushions or pillows.
Add Finishing Touches and Enjoy Your New Backyard Oasis
After completing the construction of your DIY pergola swing set, it’s time to add the finishing touches.
Consider adding a canopy to provide shade and protection from the sun.
You can also add cushions or pillows to make the swing more comfortable. Don’t forget to decorate the area with plants, outdoor lighting, and other decorative elements to create a relaxing atmosphere.
Once everything is in place, sit back, relax, and enjoy your new backyard oasis!
DIY Swing Set Free Plans
If you’re interested in building a DIY swing set and looking for free plans, here is a step-by-step guide:
Assess the available space in your backyard and consider any safety factors. Ensure there are no overhead obstructions or uneven terrain.
Gather the necessary materials, including pressure-treated lumber, galvanized screws, swings, chains, A-frame brackets (if applicable), and concrete (if needed for post-installation).
Design your swing set according to your preferences and the age range of the users.
Measure and mark the swing set’s dimensions and the locations for the posts or A-frame brackets. Double-check the measurements for accuracy and level.
If necessary, prepare the ground by clearing debris or obstacles and leveling the area.
Build the frame of the swing set. If using A-frame brackets, follow the provided instructions. If constructing a custom design, refer to your plans and cut the lumber accordingly. Securely fasten the pieces together using galvanized screws.
Install the posts by digging holes and using concrete to secure them if A-frame brackets are not used. Ensure the posts are level and allow the concrete to cure.
Attach the swings and chains following the manufacturer’s instructions. Ensure they are securely attached and at an appropriate height for safe swinging.
Test the stability and safety of the swing set before allowing anyone to use it. Inspect the structure thoroughly and make any necessary adjustments.
Add accessories such as a slide, climbing ropes, or a climbing wall if desired. Follow the manufacturer’s instructions and safety guidelines when installing them.
Prioritize safety by regularly inspecting the swing set for wear or damage and making necessary repairs. Supervise children while they are using the swing set to ensure their safety.
While this guide provides a general overview, finding specific plans or designs that suit your preferences and needs is essential.


