Mounting your TV on the wall can be a great way to save space and create a modern, streamlined look in your home.
However, it can also be daunting if you’ve never done it before.
Follow these step-by-step instructions to mount your TV on the wall like a pro.
Choose the Right Wall Mount
Choosing the suitable wall mount is important before you start mounting your TV on the wallSeveral types of wall mounts are available, including fixed mounts, tilting mounts, and full-motion mounts. Fixed braces hold the TV in a fixed position, while tilting mounts allow you to adjust the angle of the TV up or down.
Full-motion mounts allow you to adjust the angle of the TV in all directions. Consider the size and weight of your TV, as well as the viewing angle and location of the mount, when choosing the suitable wall mount for your needs.
Find the Studs
The first step in mounting your TV on the wall is to find the studs. Studs are the vertical beams behind the drywall that support the wall.
You’ll want to mount your TV on the studs to ensure it’s secure and won’t fall off the wall.
You can use a stud finder to locate the studs, or you can tap on the wall to listen for a solid sound, indicating a stud’s presence.
Once you’ve located the studs, mark their location on the wall with a pencil.
Mark the Mounting Holes
After you’ve located the studs and marked their location on the wall, it’s time to celebrate the mounting holes for your TV bracket.
Place the bracket on the wall, making sure it’s level, and use a pencil to mark the holes where you’ll be drilling. Double-check the measurements and ensure the bracket is still level before drilling any holes.
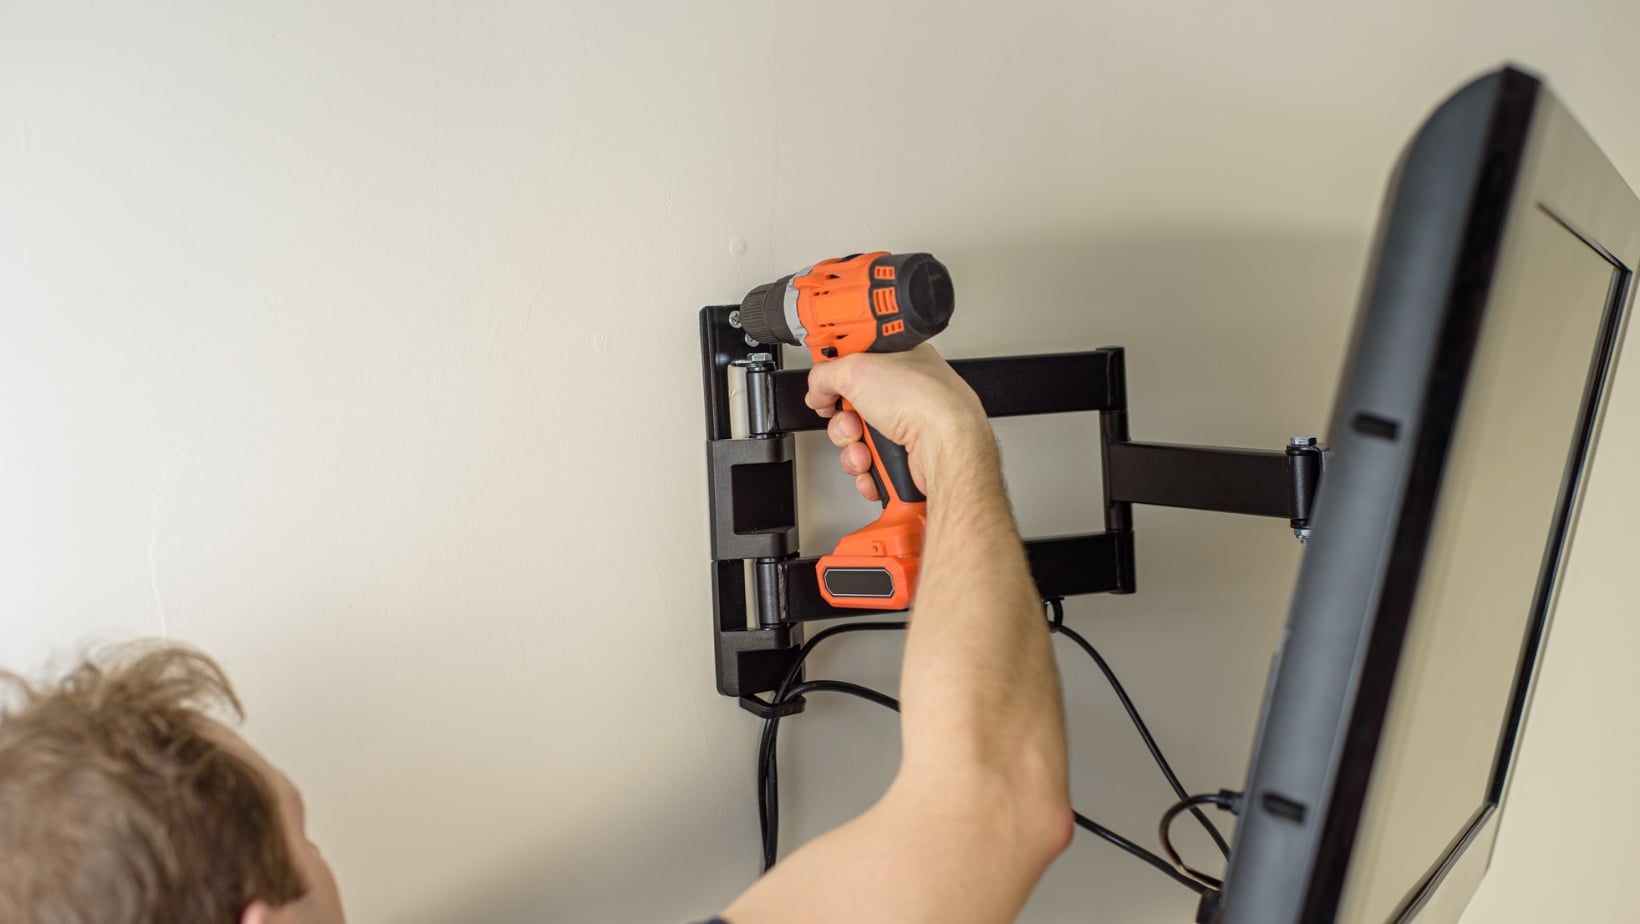
It’s essential to use the correct size drill bit for the screws you’ll be using to mount the bracket. Once the holes are drilled, attach the frame to the wall using the screws provided.
Drill the Holes
After you have marked the location of the studs and the mounting holes on the wall, it’s time to drill the holes.
Make sure to use the correct size drill bit for the screws you’ll be using to mount the bracket. Double-check the measurements and ensure the frame is still level before drilling any holes.
Once the holes are drilled, attach the bracket to the wall using the screws provided. Ensure the frame is securely attached to the wall before mounting your TV.
Attach the Wall Plate and Mounting Arms
Once the bracket is securely attached to the wall, it’s time to attach the wall plate and mounting arms.
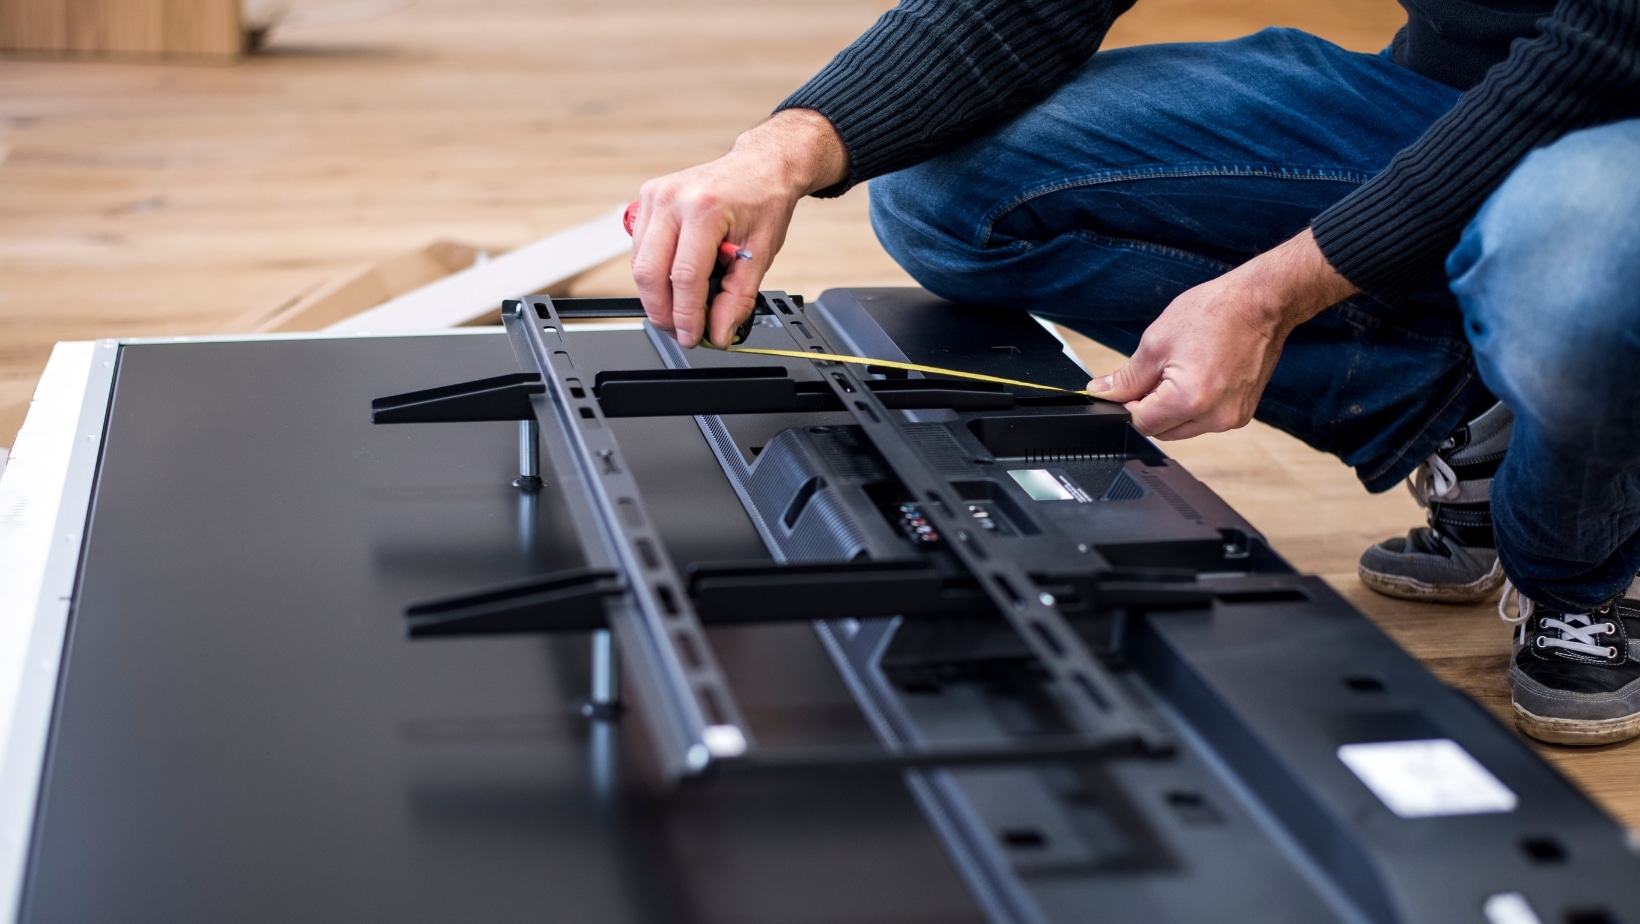
The wall plate is the piece that will attach to the back of your TV, while the mounting arms will connect to the bracket on the wall. First, connect the wall plate to the back of your TV using the screws provided.
Then, attach the mounting arms to the bracket on the wall using the screws provided. Ensure the mounting components are securely attached to the frame before moving on to the next step.
How to Mount tv on Wall Without Wires Showing
Mounting a TV on a wall without visible wires requires careful planning and specific techniques to conceal the cables.
Here’s a step-by-step guide to help you achieve a clean and wire-free installation:
- Determine the placement: Decide where to mount the TV on the wall. Consider viewing angles, room layout, and available power outlets.
- Find the studs: Use a stud finder to locate the studs behind the wall where you plan to mount the TV. Mounting the TV on studs provides the necessary support to hold the TV’s weight and the mounting bracket.
- Select a suitable mounting bracket: Choose a wall mount for cable management. Look for models with built-in cable channels or a separate cable management kit.
- Plan the cable route: Plan the path for the cables to follow from the TV to the nearest power outlet and any other necessary connections. Avoid running cables horizontally across the wall, as this can be unsightly.
- Conceal the power cord: The power cord is usually the most visible cable. One option is to install an electrical outlet behind the TV to hide the power cord within the wall. This may require the assistance of a licensed electrician. Alternatively, you can use a cable management system like a cord cover or raceway to hide the power cord along the wall surface.
- Hide other cables: For HDMI, audio, or other wires, you can use various methods to hide them. Here are a few options:
- In-wall cable routing: If you are comfortable with minor construction work, use an in-wall cable management kit to run the cables through the wall. This involves cutting holes in the drywall and using fish tape or a wire snake to guide the lines between the TV and the equipment.
- Wire molding or raceways: These plastic or metal covers attach to the wall surface and provide a channel to conceal the cables. They can be painted to match the wall color for better camouflage.
- Cord concealers are adhesive channels that stick to the wall and can be used to hide cables along the baseboards or corners of the room.
- Organize and secure the cables: Once they are hidden, use cable ties or hook-and-loop fasteners to bundle and connect them together. This will keep them organized and prevent them from dangling or becoming visible.
- Connect the cables: After they are routed and hidden, connect them to the appropriate ports on the TV and any peripheral devices, such as a soundbar or game console.
- Mount the TV: Follow the instructions provided with the TV mount to attach it to the wall securely. Ensure that it is level and properly aligned.
- Test and tidy up: Before installing, test all the connections and ensure the TV is functioning correctly. Finally, tidy up any loose cables or excess lengths by tucking them behind furniture or using cable management solutions.
Remember, if you’re unsure about any part of the process or dealing with complex wiring, it’s always best to consult a professional installer or an electrician for assistance.


