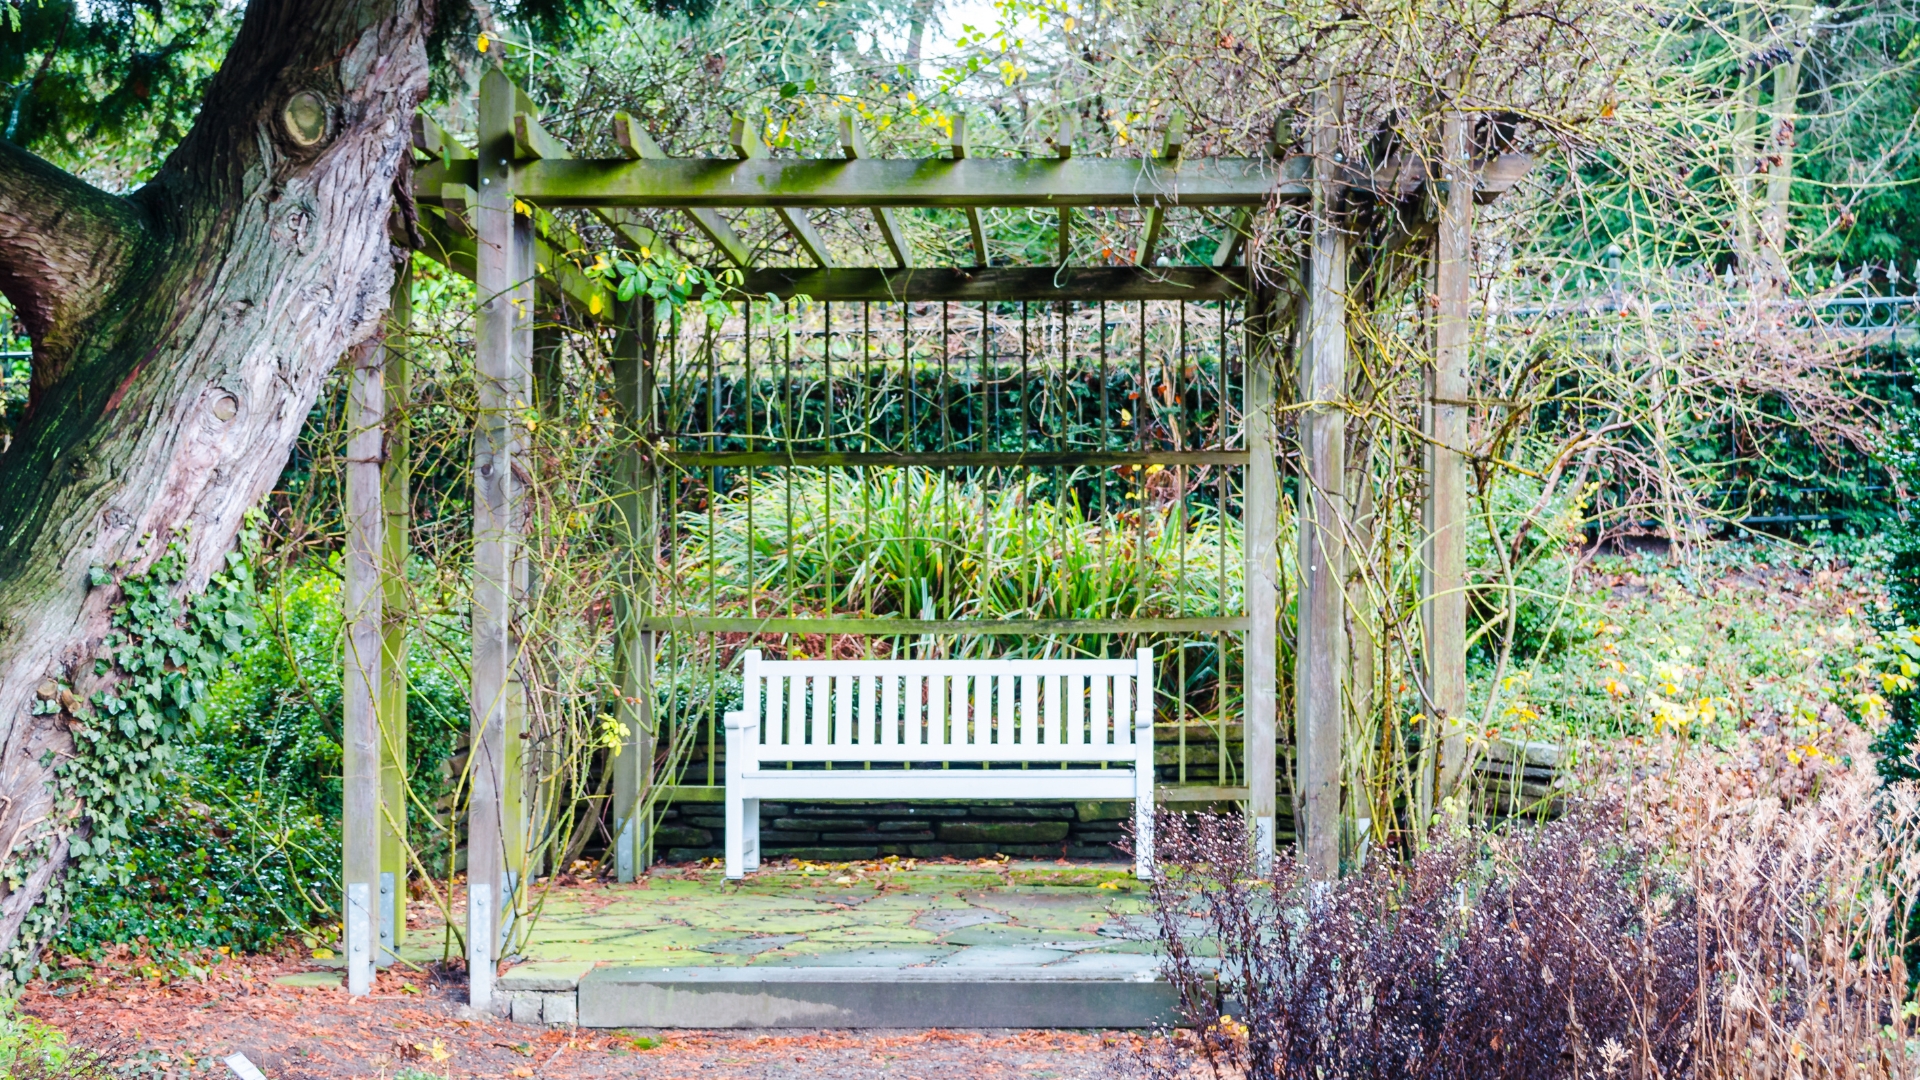
A garden bench is a timeless and versatile piece of outdoor furniture that adds both beauty and functionality to gardens, patios, and outdoor spaces. These benches are designed for relaxation and contemplation, offering a comfortable place to sit and enjoy the natural surroundings.
Whether you prefer a classic wooden design or a modern, weather-resistant material, a well-placed garden bench can enhance the aesthetics of your outdoor environment while providing a peaceful spot for unwinding and taking in the sights and sounds of nature.
Note: Get Your Park Bench Plans PDF Below.
Free Garden Bench Plans
Creating detailed garden bench plans requires consideration of design, materials, and dimensions. Here’s a basic plan for building a classic wooden garden bench:
Materials You’ll Need
- 2×4 lumber for framing and slats
- 1×4 lumber for backrest slats
- Screws
- Wood glue
- Measuring tape
- Circular saw
- Drill
- Sandpaper
- Safety goggles
- Outdoor wood finish or paint
Plan
Design Your Bench
Decide on the design and dimensions for your garden bench. A classic design might have a seat around 18 inches deep, a backrest around 18 inches high, and overall dimensions of about 48 inches wide.
Cut the Lumber
- Measure and cut the 2×4 lumber into the following pieces:
- 2 pieces, 48 inches long (front and back apron)
- 2 pieces, 16.5 inches long (side aprons)
- 4 pieces, 16.5 inches long (bench legs)
- 2 pieces, 45 inches long (bench seat frame)
- 2 pieces, 18 inches long (backrest supports)
- 1 piece, 45 inches long (center support)
Assemble the Bench Frame
Attach the two 48-inch apron pieces to the top of the bench legs to create the front and back frames. Secure the 16.5-inch side aprons to the sides of the legs to complete the frame.
Create the Bench Seat
Place the 45-inch seat frame pieces between the front and back frames. Secure them with screws to form the seat frame.
Add Support and Slats
Attach the 18-inch backrest supports to the inside of the back frame. Then, screw the 1×4 slats onto the backrest supports to create the backrest.
Add a Center Support
To reinforce the seat, attach the 45-inch center support piece between the front and back aprons.
Sand and Finish
Sand all the rough edges to prevent splinters and create a smooth finish. Apply outdoor wood finish or paint to protect the bench from the elements.
Final Inspection
Double-check that all screws are securely fastened, and the bench is stable and level. Make any necessary adjustments.
With these plans, you can build a basic yet sturdy garden bench. Customize the design, wood type, and finish to match your preferences and the overall aesthetic of your outdoor space. Always prioritize safety during construction and ensure the bench is adequately protected from the weather to extend its lifespan.
Wooden Park Bench Plans
Creating wooden park bench plans involves considering the materials, design, and dimensions required for a durable and comfortable outdoor bench. Here’s a basic plan for building a classic wooden park bench:
Materials You’ll Need
- Cedar or pressure-treated pine lumber for longevity
- Screws and galvanized hardware for outdoor use
- Wood glue
- Measuring tape
- Circular saw
- Drill with bits
- Sandpaper
- Safety goggles
- Outdoor wood finish or paint for protection
Plan
Design Your Bench
Decide on the design and dimensions for your park bench. A typical park bench is about 6 feet long with a seat depth of 18 inches and a backrest around 18 inches high.
Cut the Lumber
- Measure and cut the lumber into the following pieces:
- 4 pieces, 2×4, each 72 inches long (bench legs and front/back supports)
- 3 pieces, 2×4, each 21 inches long (seat supports)
- 3 pieces, 2×4, each 8 inches long (armrest supports)
- 9 pieces, 1×4, each 72 inches long (seat slats)
- 4 pieces, 1×4, each 18 inches long (backrest slats)
- 2 pieces, 1×4, each 25 inches long (armrests)
Assemble the Bench Frame
Attach the two 72-inch bench legs to the 21-inch seat supports using screws. This creates the bench frame. The legs should be positioned at the outer edges, and the supports should be evenly spaced along the length of the bench.
Add Front and Back Supports
Attach the remaining 72-inch 2×4 pieces to the front and back of the bench frame, connecting the legs. These serve as additional supports and the backrest frame.
Create the Seat
Place the 72-inch seat slats on top of the seat supports, spacing them evenly. Secure them with screws to form the seat.
Build the Backrest
Attach the 18-inch backrest slats to the backrest frame, leaving a small gap between each slat for ventilation and aesthetics.
Add Armrests
Attach the 25-inch armrests to the front and back supports using screws. Make sure they are level and comfortable for resting arms.
Sand and Finish
Sand all the rough edges to prevent splinters and create a smooth finish. Apply outdoor wood finish or paint to protect the bench from the elements.
Final Inspection
Double-check that all screws are securely fastened, and the bench is stable and level. Make any necessary adjustments.
With these plans, you can build a sturdy and comfortable wooden park bench. Customize the design, wood type, and finish to match your preferences and the overall aesthetic of your outdoor space. Always prioritize safety during construction and ensure the bench is adequately protected from the weather to extend its lifespan.
Picnic Bench Plans
Creating picnic bench plans involves careful consideration of design, dimensions, and materials. Here’s a basic plan for building a classic wooden picnic bench:
Materials You’ll Need
- Pressure-treated pine or cedar lumber for outdoor use
- Screws and galvanized hardware
- Wood glue
- Measuring tape
- Circular saw
- Drill with bits
- Sandpaper
- Safety goggles
- Outdoor wood finish or paint for protection
Plan
Design Your Picnic Bench
Decide on the design and dimensions for your picnic bench. A standard picnic bench typically seats 4 to 6 people and is around 6 to 8 feet long.
Cut the Lumber
- Measure and cut the lumber into the following pieces:
- 2 pieces, 2×6, each 72 inches long (bench seat)
- 2 pieces, 2×6, each 60 inches long (bench seat)
- 2 pieces, 2×4, each 27 inches long (bench legs)
- 2 pieces, 2×4, each 20 inches long (bench supports)
- 2 pieces, 2×6, each 72 inches long (tabletop)
- 2 pieces, 2×6, each 32 inches long (tabletop supports)
- 2 pieces, 2×4, each 72 inches long (table legs)
- 2 pieces, 2×4, each 20 inches long (table supports)
Assemble the Bench Seat
Create the bench seat by attaching the 60-inch 2×6 boards to the 72-inch 2×6 boards using screws. These will be the top of the bench seat.
Build the Bench Frame
Attach the 27-inch 2×4 bench legs to the 20-inch bench supports, forming two bench leg assemblies. Secure these to the underside of the bench seat to create the bench frame.
Create the Tabletop
Assemble the tabletop by attaching the 72-inch 2×6 boards to the 32-inch 2×6 tabletop supports.
Build the Table Frame
Attach the 72-inch 2×4 table legs to the 20-inch table supports to create the table frame.
Attach the Tabletop
Secure the tabletop to the table frame with screws, making sure it is level and centered.
Sand and Finish
Sand all rough edges and surfaces to prevent splinters and create a smooth finish. Apply outdoor wood finish or paint to protect the bench and table from the elements.
Final Inspection
Double-check that all screws are securely fastened, and the picnic bench is stable and level. Make any necessary adjustments.
With these plans, you can build a sturdy and functional picnic bench and table. Customize the design, wood type, and finish to match your preferences and the overall aesthetic of your outdoor space. Always prioritize safety during construction and ensure the bench is adequately protected from the weather to extend its lifespan.
DIY Park Bench Plans
Creating DIY park bench plans involves careful consideration of materials, dimensions, and construction steps. Here’s a basic plan for building a classic wooden park bench:
Materials You’ll Need
- Cedar or pressure-treated pine lumber for outdoor use
- Screws and galvanized hardware for durability
- Wood glue
- Measuring tape
- Circular saw
- Drill with bits
- Sandpaper
- Safety goggles
- Outdoor wood finish or paint for protection
Plan
Design Your Park Bench
Determine the design and dimensions for your park bench. A typical park bench is around 6 feet long with a seat depth of 18 inches and a backrest about 18 inches high.
Cut the Lumber
- Measure and cut the lumber into the following pieces:
- 2 pieces, 2×4, each 72 inches long (bench legs)
- 1 piece, 2×4, 72 inches long (front apron)
- 1 piece, 2×4, 68 inches long (back apron)
- 2 pieces, 2×4, each 21 inches long (seat supports)
- 9 pieces, 1×4, each 72 inches long (seat slats)
- 4 pieces, 1×4, each 18 inches long (backrest slats)
Assemble the Bench Frame
Attach the 72-inch bench legs to the front and back aprons using screws. The legs should be positioned at the outer edges, creating the bench frame.
Add Seat Supports
- Attach the 21-inch seat supports between the front and back aprons, evenly spacing them to support the seat slats.
Create the Seat
Place the 72-inch seat slats on top of the seat supports, spacing them evenly. Secure them with screws to form the seat.
Build the Backrest
Attach the 18-inch backrest slats to the backrest frame, leaving a small gap between each slat for ventilation and aesthetics.
Sand and Finish
Sand all rough edges to prevent splinters and create a smooth finish. Apply outdoor wood finish or paint to protect the bench from the elements.
Final Inspection
Ensure all screws are securely fastened, and the bench is stable and level. Make any necessary adjustments.
With these plans, you can build a classic wooden park bench. Customize the design, wood type, and finish to match your preferences and the overall aesthetic of your outdoor space. Always prioritize safety during construction and ensure the bench is adequately protected from the weather to extend its lifespan.


