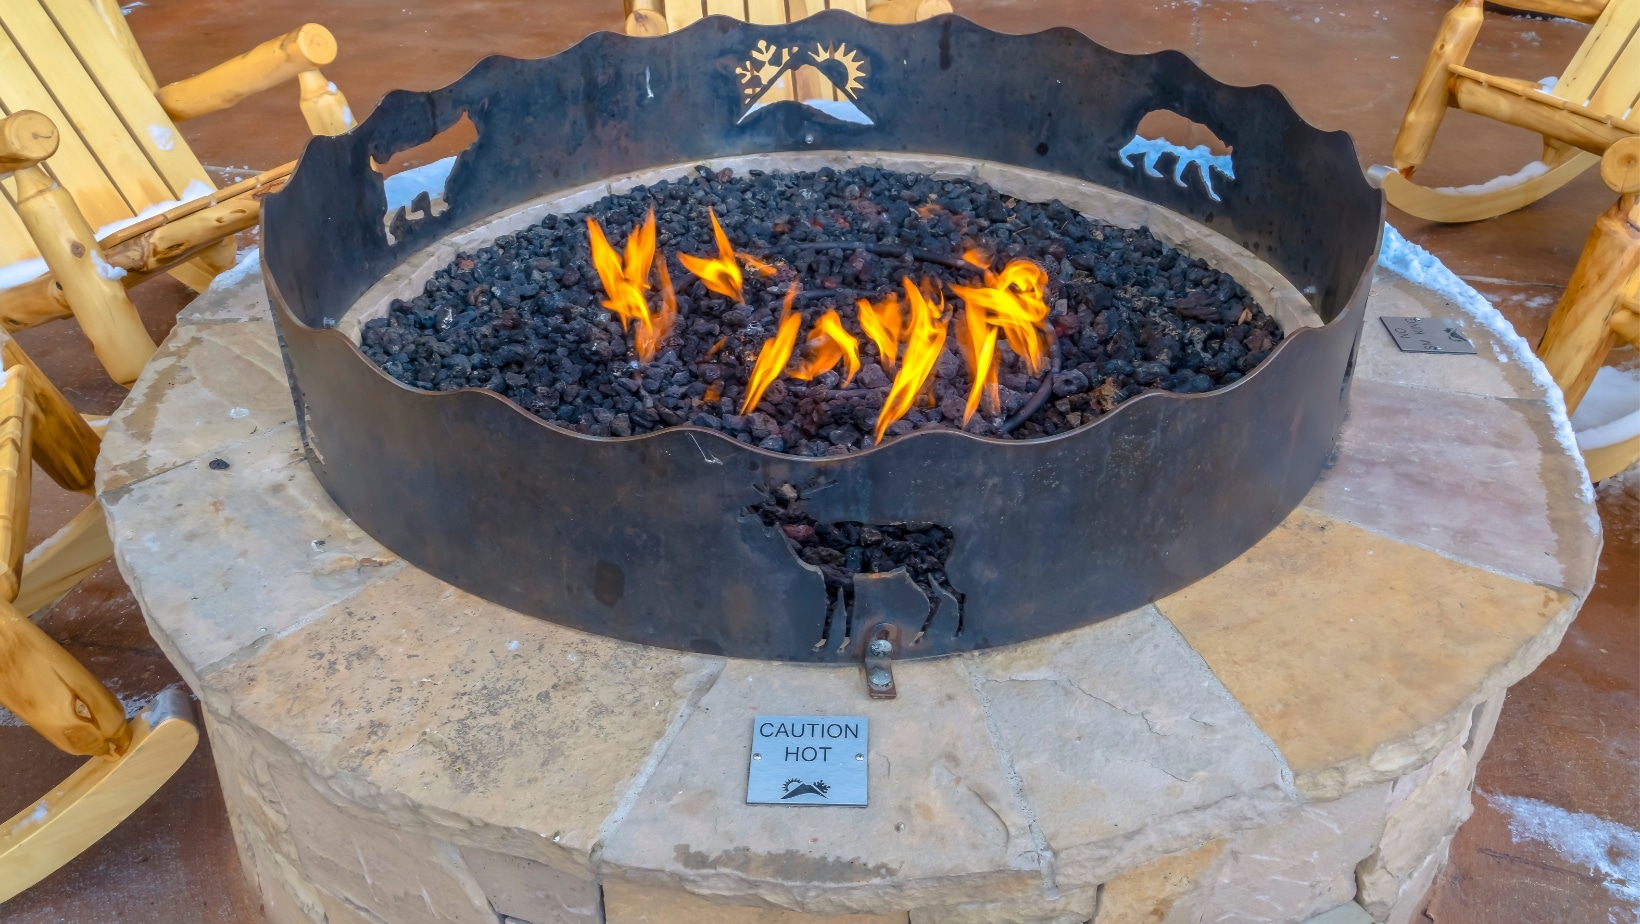
Are you looking to add some warmth and ambiance to your outdoor space? A rock fire pit may be just what you need. With these 5 DIY ideas, you can create a cozy and inviting area for entertaining or relaxing.
Whether you prefer a rustic or modern look, there’s a design to suit every style.
Simple Stacked Stone Fire Pit
This DIY rock fire pit idea is perfect for a simple and classic design.
You only need some large stones or boulders and a flat surface to build on. Start by creating a circle with the rocks, stacking them on each other until you reach your desired height.
Make sure to leave a gap between the stones for airflow.
Once your fire pit is complete, add some wood and enjoy the warmth and ambiance of your new outdoor space.
River Rock Fire Pit
Consider building a river rock fire pit for a natural and rustic look.
This design uses river rocks of various sizes to create a unique and textured look.
Start by digging a shallow pit and lining it with fire-resistant bricks. Then, stack the river rocks around the pit’s perimeter, leaving gaps for airflow.
You can add a layer of smaller rocks to the larger ones for added texture.
Once your fire pit is complete, gather wood and enjoy a cozy night under the stars.
Flagstone Fire Pit
Consider building a flagstone fire pit for a more modern and sleek look.
This design uses flat, smooth stones to create a clean and polished look.
Start by digging a shallow pit and lining it with fire-resistant bricks. Then, lay the flagstones in a circular pattern around the pit’s perimeter, leaving gaps for airflow.
You can also add a layer of smaller stones to the larger ones for texture.
Once your fire pit is complete, gather wood and enjoy a cozy night under the stars.
Modern Concrete Fire Pit
If you’re looking for a fire pit that’s both modern and durable, consider building a concrete fire pit.
This design uses concrete blocks to create a sleek and minimalist look. Start by digging a shallow pit and lining it with fire-resistant bricks.
Then, stack the concrete blocks in a circular pattern around the pit’s perimeter, leaving gaps for airflow.
You can also add a layer of decorative stones to the blocks for texture.
Once your fire pit is complete, light a fire and enjoy a cozy night outdoors.
Natural Rock Fire Pit Ideas
Consider building a fire pit using natural stones for a more rustic and natural look.
You can use stones of various sizes and shapes to create a unique and organic design.
Start by digging a shallow pit and lining it with fire-resistant bricks. Then, stack the stones in a circular pattern around the pit’s perimeter, leaving gaps for airflow.
You can also add a layer of gravel or sand on top of the bricks for added stability.
Once your fire pit is complete, light a fire and enjoy the warmth and beauty of the natural stone.
DIY Rock Fire Pit
Creating your DIY rock fire pit is an enjoyable and rewarding project that can enhance your outdoor space.
Follow these step-by-step instructions to build one:
Please start by selecting a suitable location for your fire pit, ensuring it is safe, well-ventilated, and away from flammable objects or structures. Check local regulations and permits if needed.
Gather the necessary materials, including fire bricks or heat-resistant stones, sand or gravel, a shovel, rake, level, tape measure, and mallet or hammer.
Mark your fire pit’s desired size and shape on the ground using a tape measure, creating a clear outline.
Excavate the marked area to a depth of 6-8 inches, ensuring a level and even base.
Use a rake or shovel to level the excavated area, providing a stable foundation for the fire pit.
Begin placing the fire bricks or heat-resistant stones around the perimeter of the excavated area. Press them firmly into the ground, ensuring a tight and level fit.
Continue layering the bricks or stones, staggering the joints to create a sturdy structure. Use a level to maintain evenness and straightness.
Consider using heat-resistant mortar or adhesive to enhance the strength of the walls, if desired.
Use additional fire bricks or stones to create a smaller circle or ring inside the walls. This will serve as the area where the fire will be contained.
Pour a layer of sand or gravel into the bottom of the fire pit. This aids in drainage and insulation.
Carefully inspect the structure for stability and make necessary adjustments before using the fire pit.
Once the fire pit is secure, you can enjoy its warmth and ambiance. Safely gather around for cozy gatherings, roasting marshmallows, or simply relaxing outdoors.
Remember to prioritize safety by keeping a fire extinguisher nearby, never leaving the fire unattended, and following proper fire safety practices.
DIY Fire Pit Cover Ideas
If you’re seeking DIY fire pit cover ideas to protect your fire pit when it’s not in use, consider these creative options:
One idea is to build a wooden cover as a multi-functional table.
Construct a sturdy frame using treated lumber and attach a hinged tabletop. This design offers both a cover and a convenient surface for other activities.
Another option is to create a custom metal lid for your fire pit. Cut and weld together metal sheets or repurpose an existing metal surface to fit securely over the fire pit, shielding it from the elements.
For a cost-effective solution, use a tarp or heavy-duty cover. Purchase one that adequately covers the fire pit and use bungee cords or rope to secure it tightly. This option protects the fire pit from rain, snow, and debris.
Repurposing a stone or concrete slab is another choice. Measure the fire pit’s dimensions and cut the slab accordingly. Place it over the fire pit when not used for protection and as a decorative addition.
Consider creating a tile tabletop cover by attaching mosaic tiles to a piece of plywood or an existing tabletop. Secure the tiles with adhesive and grout, then apply a waterproof sealant to safeguard against moisture.
If you enjoy sewing, you can make a custom fabric cover using weather-resistant materials like canvas or outdoor upholstery fabric. Design a body with a drawstring or elastic cord for easy removal and installation.
Repurpose reclaimed barn or pallet wood to construct a cover for a rustic look. Build a frame and attach the wood pieces, leaving gaps for ventilation. This adds a charming and natural touch to your fire pit.
Remember to cover the fire pit only when completely cooled to prevent fire hazards. Choose a cover option that suits your style, budget, and the specific requirements of your fire pit, ensuring its protection and longevity.


